Navigating the Process Templates Screen
When working inside a process template, you will see a screen like the one below.
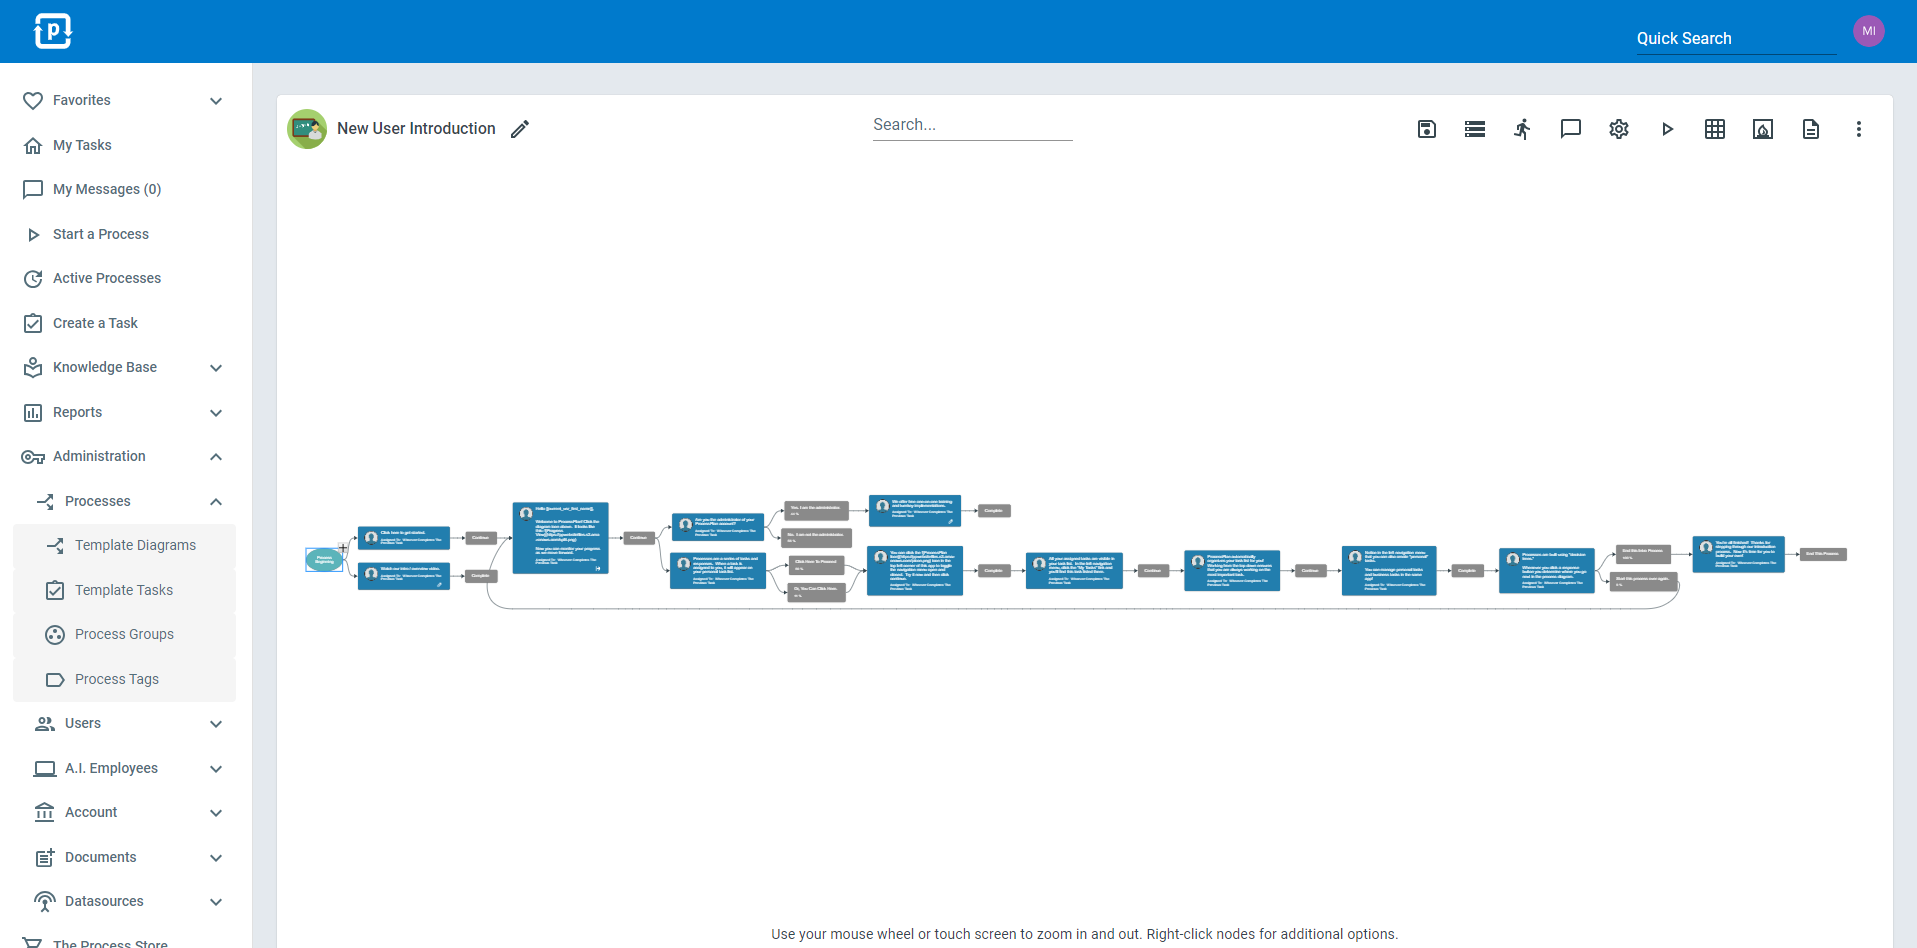
- You can use your mouse wheel or touch screen to zoom in and out. Right-click nodes for additional options.
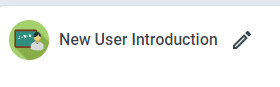
- Click the pencil icon to rename your Process
Now let’s take a look at our menu options:
Section titled “Now let’s take a look at our menu options:”
1. SAVE:
Section titled “1. SAVE:”Click the save icon to save any changes made to your diagram.
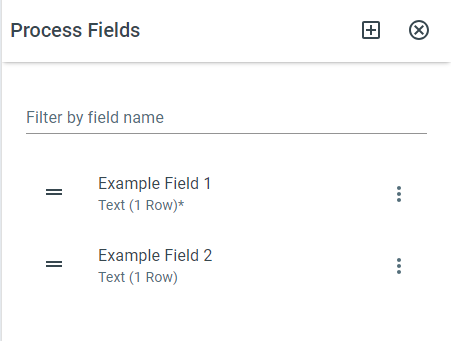
2. PROCESS FIELDS:
Section titled “2. PROCESS FIELDS:”Click the process fields icon to open the process fields panel. Here you will be able to view, edit, add, or delete a process field.
3. AUTOMATED ACTIONS:
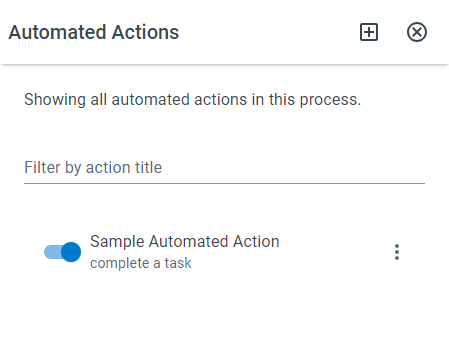
Section titled “3. AUTOMATED ACTIONS:”Click the Automated Actions icon to open the automated actions panel. Here you will be able to view, edit, add, or delete an automated action.
4. MESSAGES:
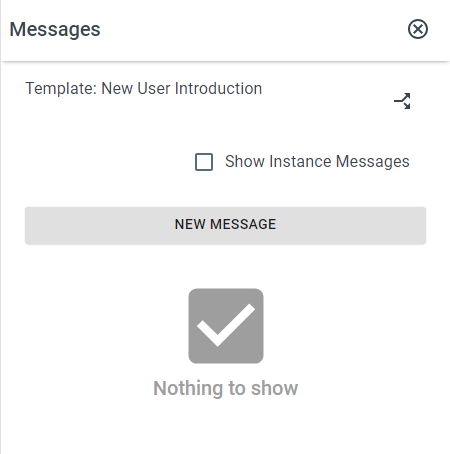
Section titled “4. MESSAGES:”Click the Messages icon to open the messages panel. Here you will see messages added by users of the current process template.
5. SETTINGS:
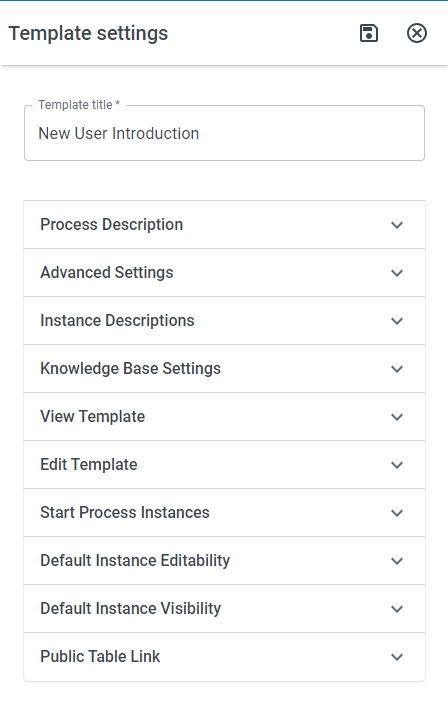
Section titled “5. SETTINGS:”Click the settings icon to open, view, and edit the settings of the current process template.
6. START PROCESS:
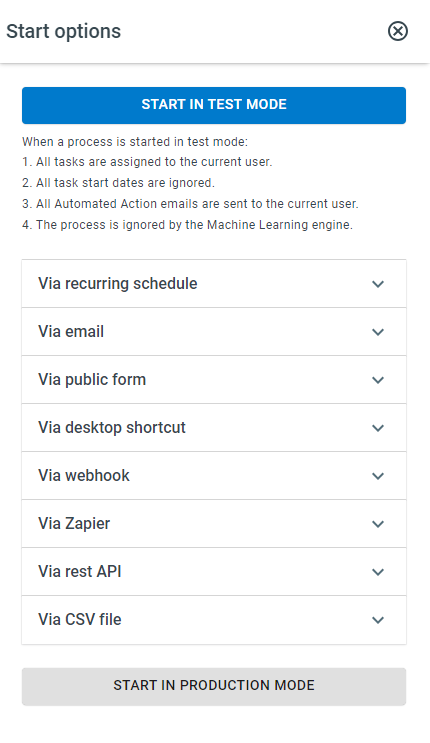
Section titled “6. START PROCESS:”Click the start process icon to open the start options panel. Here you will be able to start in test mode or choose your method of starting the process for the current process template.
7. PROCESS TABLE:
Section titled “7. PROCESS TABLE:”Clicking the process table icon will take you to the process table for the current process template. Here you will be able to see the status of all process instances that have taken place for the current process.
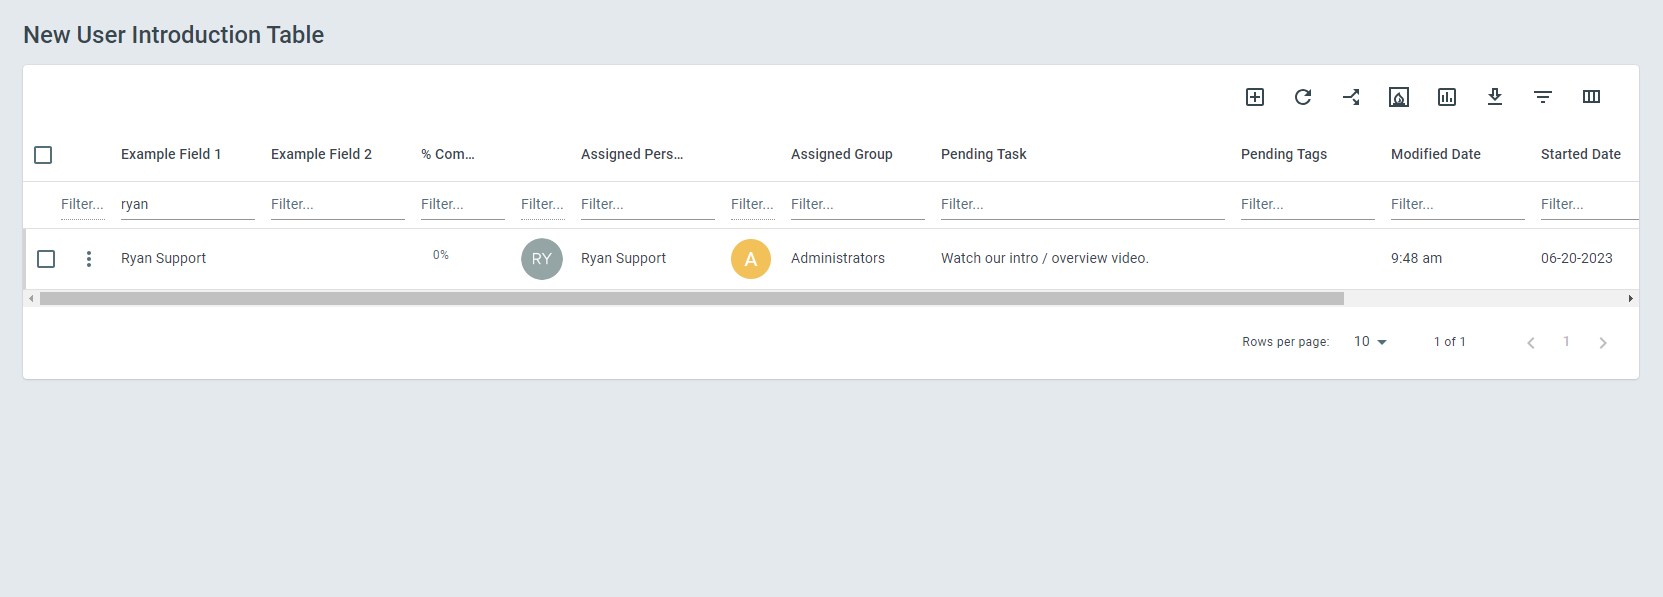
8. HEAT MAP:
Section titled “8. HEAT MAP:”Clicking the heat map icon will take you to the heat map of the current process. Here you will be able to see all the ongoing process instances’ current tasks.
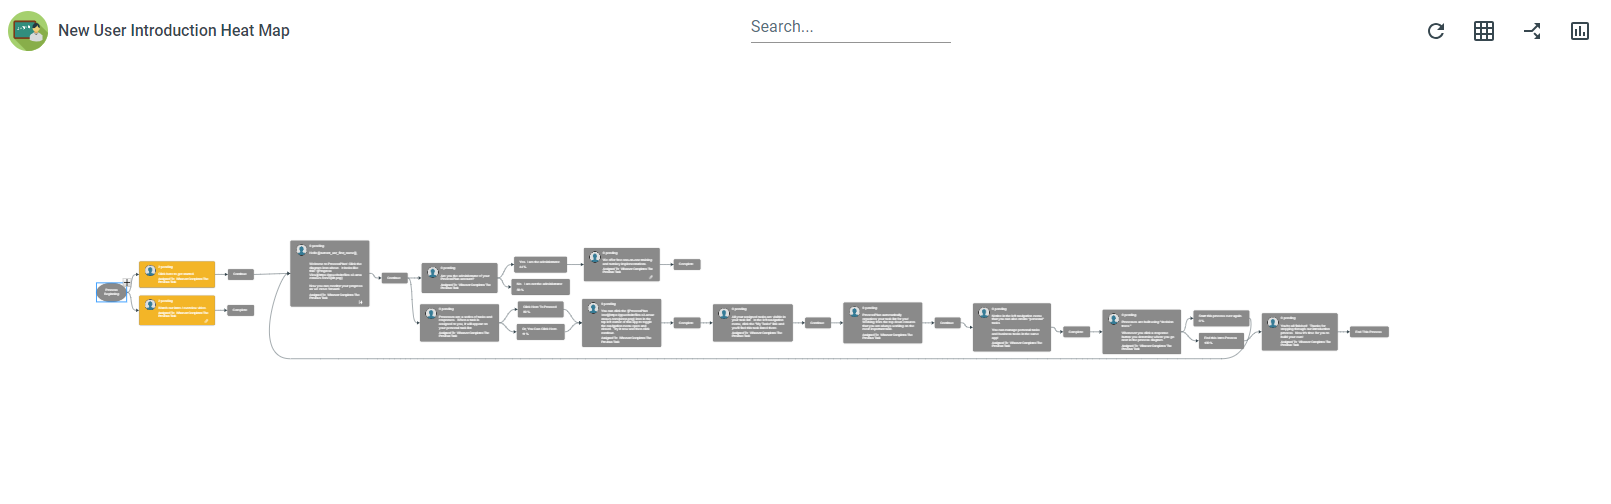
9. DOCUMENT TEMPLATES:
Section titled “9. DOCUMENT TEMPLATES:”Clicking the document templates icon will open the document templates panel where you can view, edit, add, or delete a document template for the current process template.
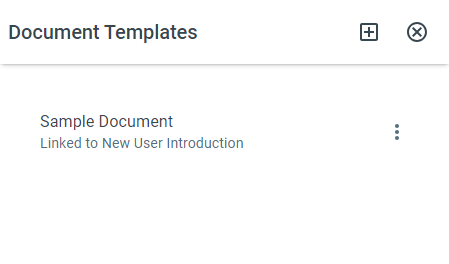
10. ASK AI:
Section titled “10. ASK AI:”Click the Ask AI icon to open the AI Assistant for the current template - ask questions or have it make changes for you.
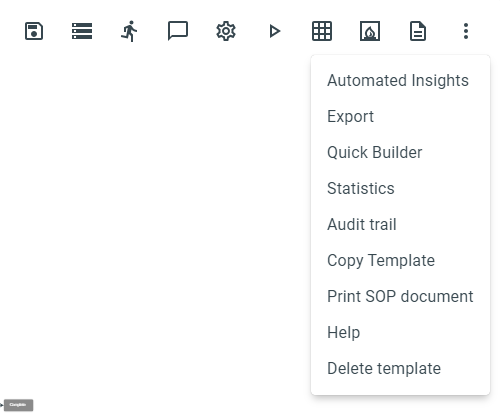
11. SEE MORE:
Section titled “11. SEE MORE:”Click the 3 dot see more icon to view the other options available for the current template, including Auto Format Diagram, Print SOP Document, and the Diagram Editor Tour.