
Automated Action Overview
Each Automated Action consists of an Action Type, a Trigger, an optional condition, and an Action. When setting up an automated action, think: I want to automate [Action Type]. When [Trigger] happens, I want [Action] to happen (optionally, under certain conditions).
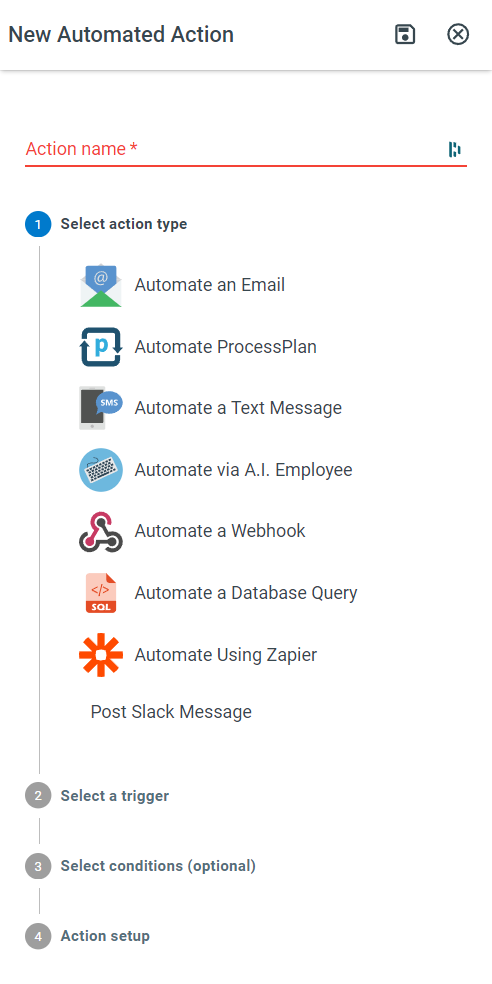
The Action Type
Section titled “The Action Type”Choose what type of action you want to automate.
The Trigger
Section titled “The Trigger”The trigger is the event that launches the automation. When the trigger event occurs, the action will be launched.
The Condition
Section titled “The Condition”Conditions are optional, but they help add more control to your action. If there are conditions on your action, the action will not fire unless one or all conditions are met.
Every action also has an optional Only Run on Processes Started on or After date in its Conditions step. Processes started before that date skip the action. See Conditions.
The Action
Section titled “The Action”The action is the main event! When your trigger occurs, the action will fire. Each Action type has a different set of actions that can be performed.
When an action fails
Section titled “When an action fails”Actions fail for reasons that have nothing to do with your process: an outside service is unreachable, an AI service is too busy to answer, a query times out, a file is too big to send.
Most action types offer a Complete Task step, where you pick a Response on Success and a Response on Failure. When the action fails, the task is completed with the Response on Failure, and the process carries on down whatever branch you connected to it. That branch is where you plan for “the automation could not do its job”: send it to a task that asks a person to handle it by hand, or to one that escalates.
If you leave Response on Failure blank, nothing is selected and the task stays open, waiting for a person to notice it. That is the right choice for some steps, but it is a choice: set a Response on Failure on any step you do not want to have to watch yourself.
Either way, the failure is recorded in the Instance Audit Log, so you can see what went wrong and when.